Integrate Wishpond With Over 500 Applications
Take control of your digital marketing stack by consolidating all of your tools through Wishpond's integration with Zapier.
Trigger events in WIshpond based on actions such as payments on Stripe, emails received on Gmail, and support tickets received on Zendesk. Use this integration to also send data out of WIshpond including leads collected on Wishpond to your favourte CRM such as Salesforce, Base, or any email marketing tool you can imagine (just to name a few).
Not Sure How The Integration Works?
No Problem - Instructions Below!
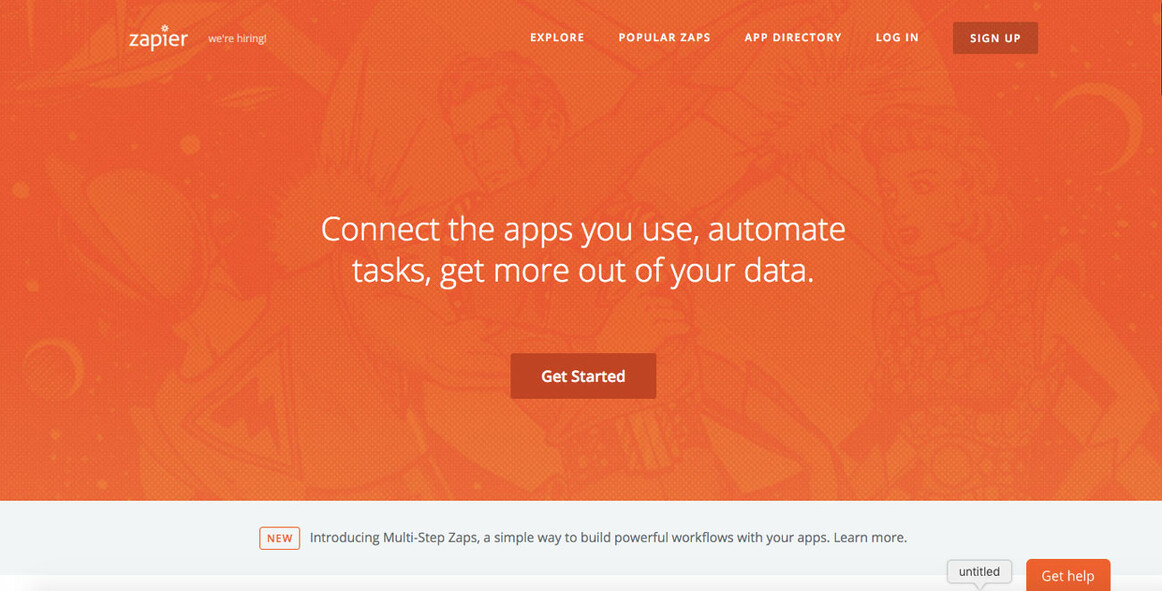
Step 1
Go to www.zapier.com from your web browser and click on “Sign Up” on the top right hand corner of the screen to create an account. (Note: If you have an account you can skip to step 3 and login).
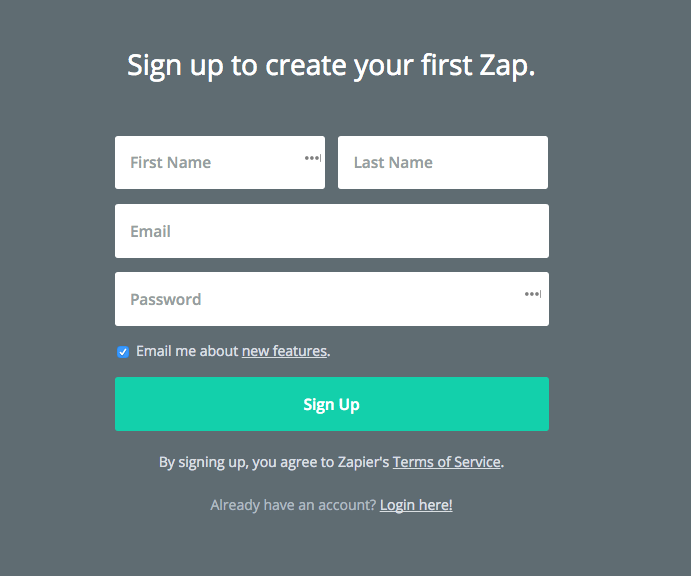
Step 2
Fill out your new account information and proceed to the next page.
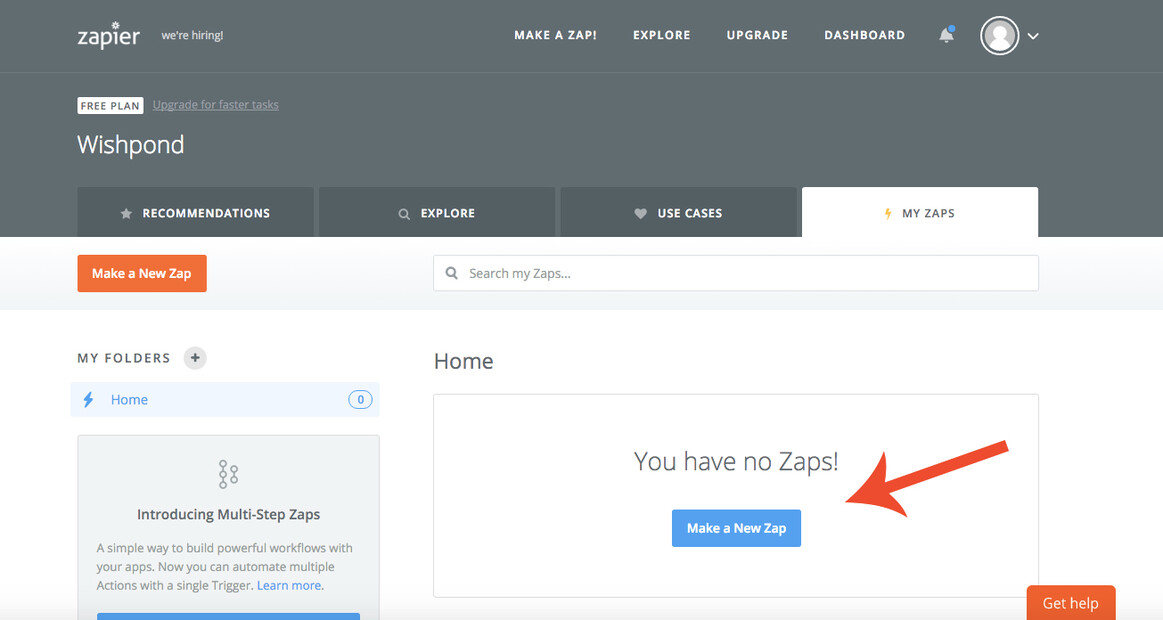
Step 3
Once inside click on “Create a new zap” from the dashboard menu.
Step 4
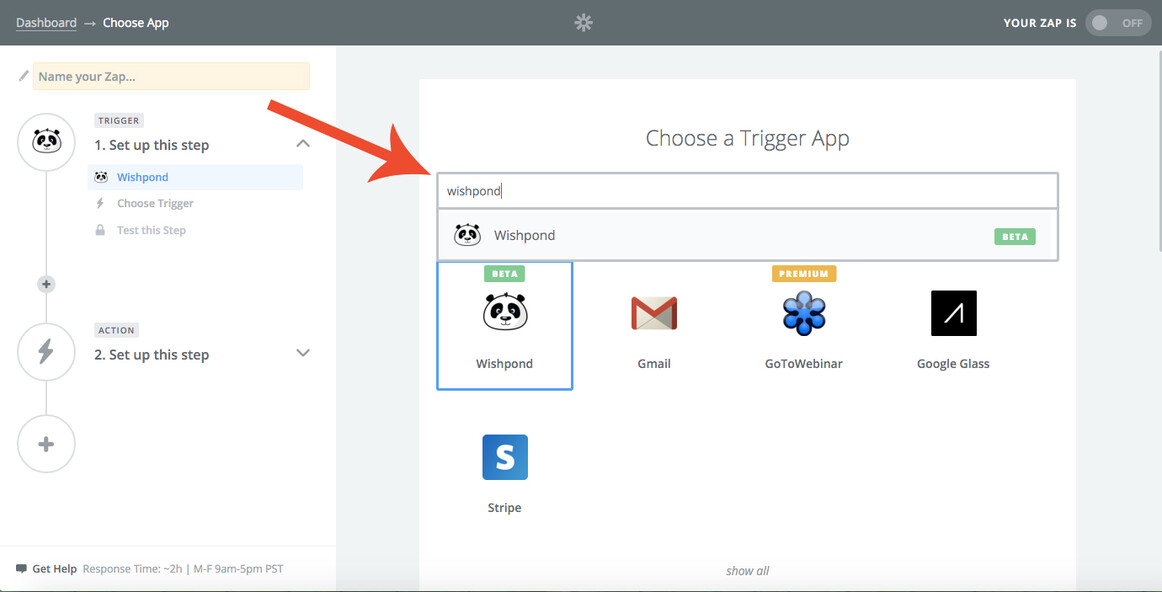
Depending on the type of integration you want to create, either search for “Wishpond” in the trigger app search bar, or the name of the app you want to set as the condition. For example, say you want to send every new customer from Stripe into Wishpond as a new lead. In this case you would search for and select “Stripe” as the trigger app. If you want to send leads collected on a Wishpond landing page to GoToWebinar to sign up for a webinar registration, then search for “Wishpond” as the trigger app.
Step 5
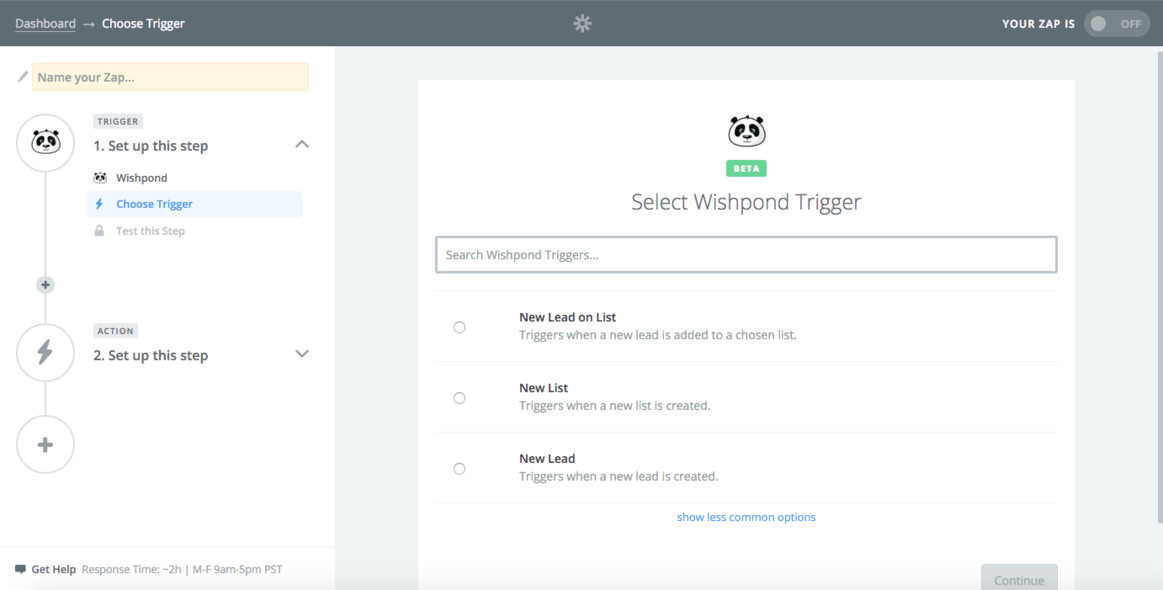
Select your condition app triggers. Note that these will be different for every app. Feel free to select “show less common options” to reveal more condition triggers to choose from. Press “Continue” once you have selected a condition.
Step 6
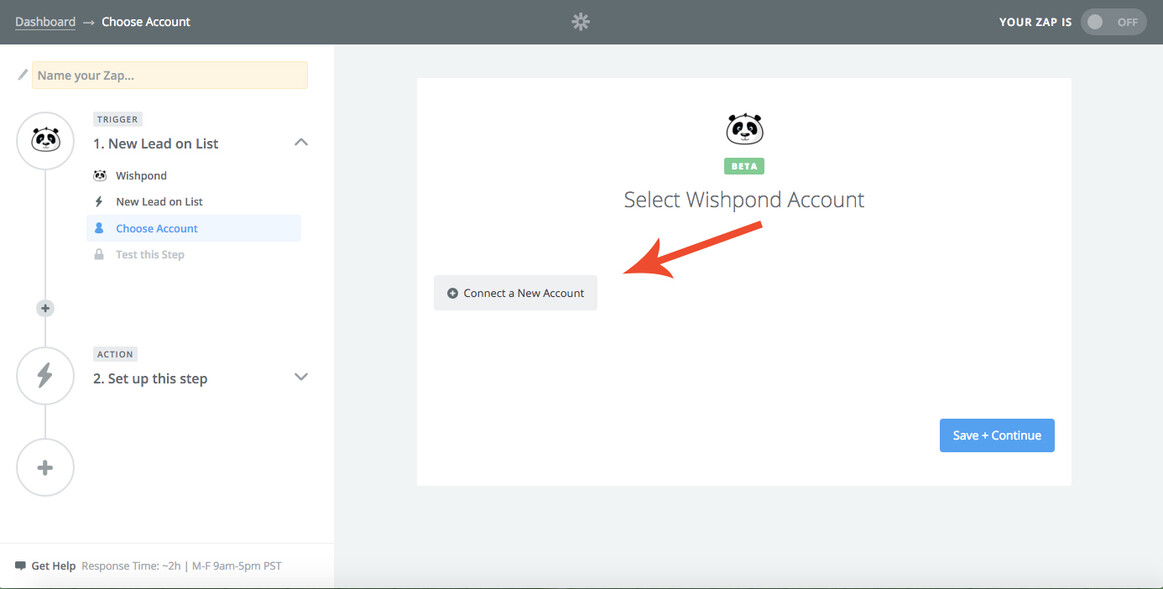
Click “Connect a New Account”.
Step 7
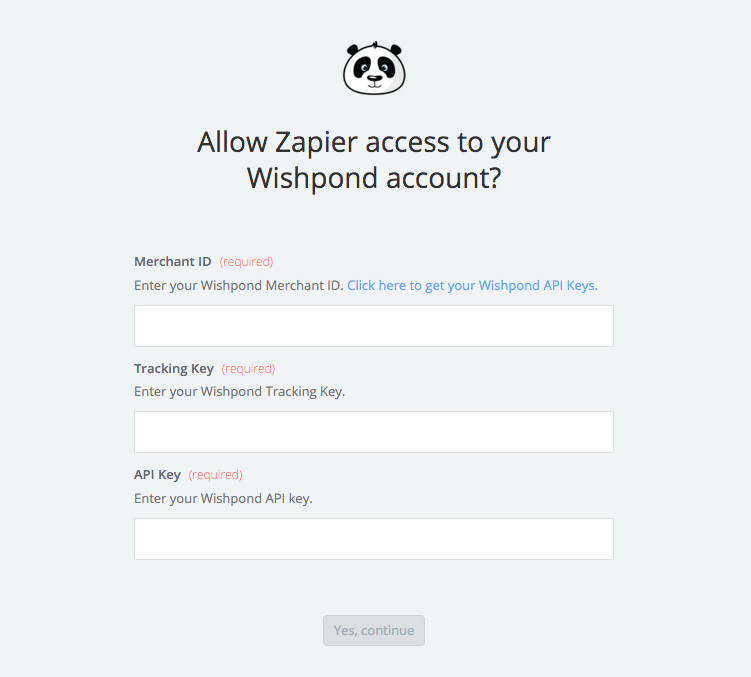
Fill out the app’s API information. Where to locate this information will vary depending on your different apps, but for Wishpond it can be found by clicking on the drop down menu on the top right of your wishpond dashboard and selecting “API Keys”.
Step 8
Next search for your action app by typing in the actions search bar.
Step 9
Choose your action. Note: these actions will vary depending on the app you choose.
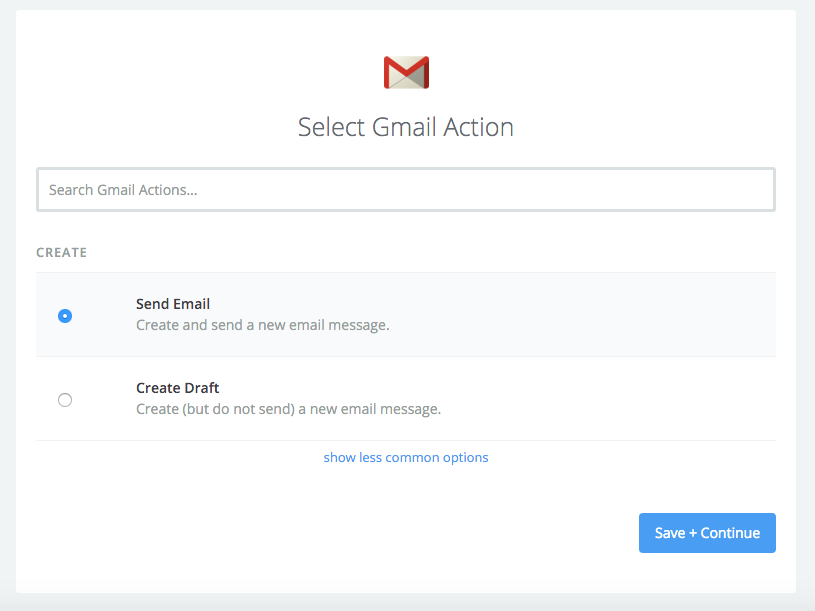
Step 10
Connect with your account and press “Save + Continue.
Step 11
Complete the mapping fields section of your action app. Note: these settings will all vary depending on the app you choose. When finished press “Continue”.
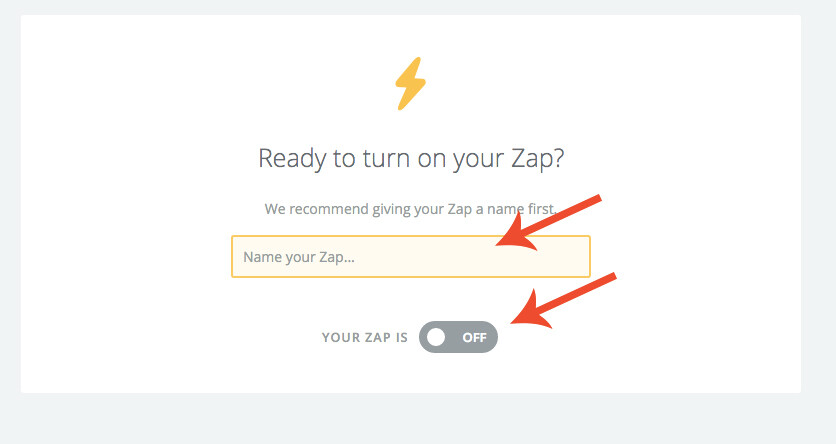
Step 12
Name your Zap and click the slider bar to turn your Zap on.
Can't wait to get started? Try these popular pre-made Zaps right now:
Easy Drag and Drop Builder
Build your landing pages without any coding. Simply drag and drop objects, and style them with simple controls.
Start Using Wishpond For Free
You can start with our Free Plan and use Wishpond with up to 200 Leads.